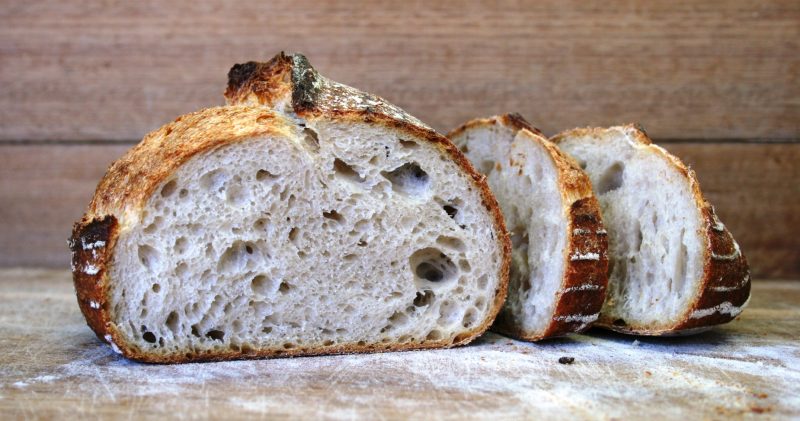
So you’ve built a bubbly active sourdough starter and you’re ready to take on some delicious and nutritious bread recipes. Let’s do it!
Here is an easy 800g recipe which is the perfect family sized loaf. If you would like to make multiple loaves, simply multiply the ingredient amounts by as many loaves that you would like to make and follow the instructions exactly the same. As simple as that!
SO HERE IS THE PROCESS…
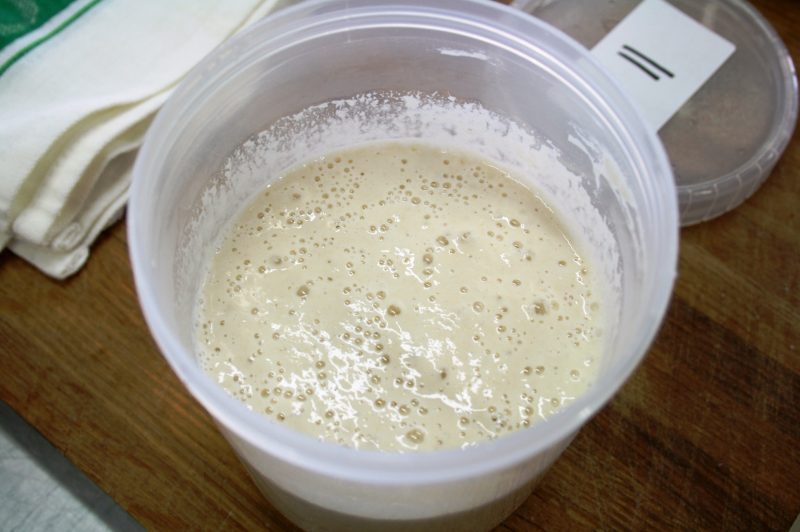
THE DAY BEFORE: Feed your starter up to increase it’s volume so that you have enough for this recipe plus more to feed for your next bake.
DAY 1: Mixing, Bulk Fermentation, Shaping, Retarding.
DAY 2: Proofing, Scoring, Baking, Cooling.
INGREDIENTS
- 278g White Bread Flour
- 98g Whole Wheat Flour
- 300g Cool Water
- 112g Sourdough Starter (ripe and mature)
- 10g Salt
- 2g Diastatic Malt Powder (optional)
SOME IMPORTANT NOTES ABOUT THE INGREDIENTS
Bread flour has a protein % of 11% or higher. This is important in order to achieve the necessary gluten development in your dough so that you end up retaining the fermentation gases during proofing, the dough holds it’s shaped once it is molded, and so you achieve a lovely open crumb structure. Regular plain flours typically have a lower protein % which are great for making cakes, biscuits and scones, but not strong enough for making good bread. The whole wheat flour can be a purchased type or freshly milled. Alternatively you can substitute this with white bread flour to make it a 100% white sourdough, though we do recommend using some whole wheat flavour and nutrition. The water should be cool, definitely not hot. Your starter is “ripe” and “mature” when it has fermented for several hours after a feed, it should have at least doubled in volume and the gas bubbles should be breaking the surface. You can perform a float test to confirm this also. We use a river salt or you could use sea salt. Go for the natural stuff. Diastatic malt powder is recommended, though optional as it can be a bit tricky to find. What it does is introduces enzymes that help convert the complex starchy sugars in your flour into more simple sugars, creating a more efficient fermentation in your dough and achieve a better colour.
METHOD: DAY 1
- Combine all ingredients together in a mixing bowl until all the flour is hydrated.
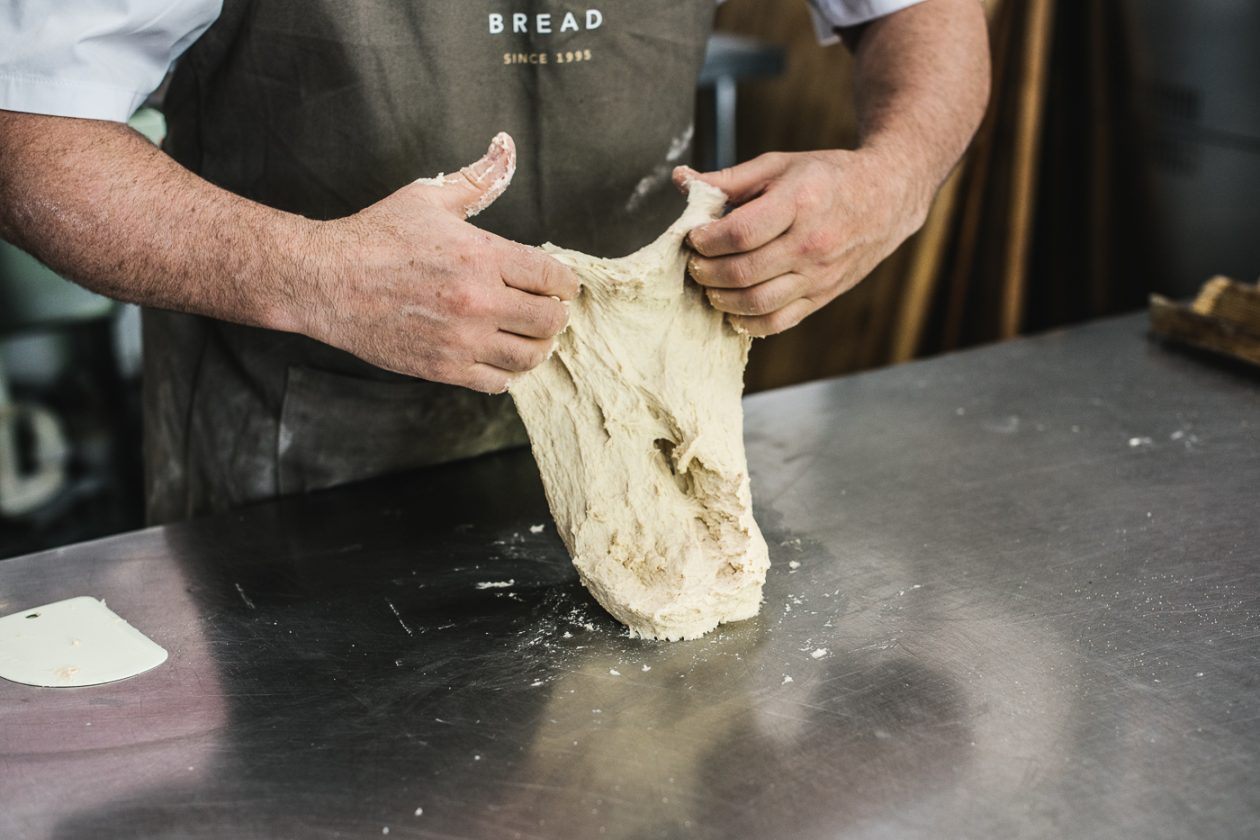
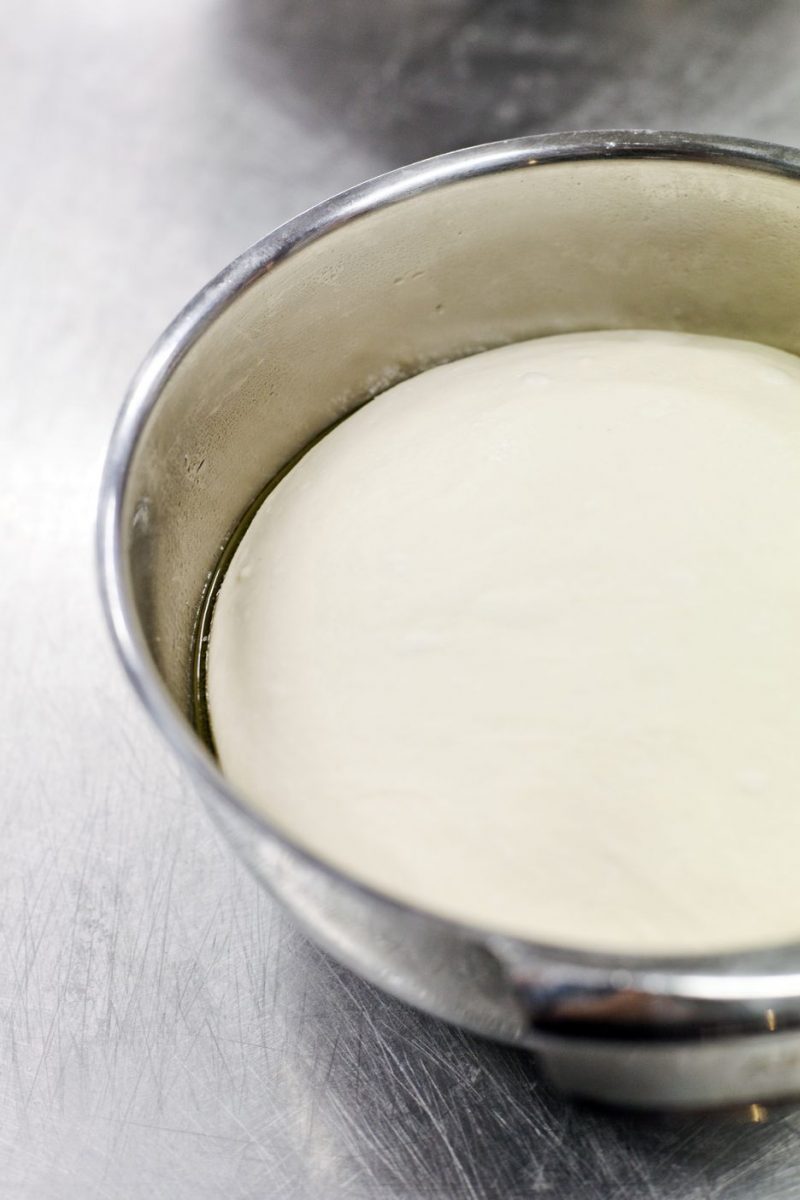
- Cover and leave to ferment for 3 hours, folding the dough at every half hour mark. A slightly wet hand will with sticky dough, don’t use any flour. To check how the gluten development of your dough is going you can do a window pane test (pictured below). A thin, stretchy, elastic window pane indicates the dough is well developed. If the dough easily breaks it may be under developed and require another fold.
- Once you perform the last fold at the 3 hour mark, lay your dough seam side up into a floured basket, cover and retard in the fridge overnight (12-18 hours).

METHOD: DAY 2
- Take your loaf out of the fridge and leave at room temperature to final proof for 3-5 hours (timing will depend on the temperature of each day; your dough will proof faster on warmer humid days and slower on colder dry days).
- At least half an hour before baking, preheat your oven to 230°C on the conventional or static setting (that is, top and bottom heat, not fan forced), along with a Dutch oven (both the pot and lid).
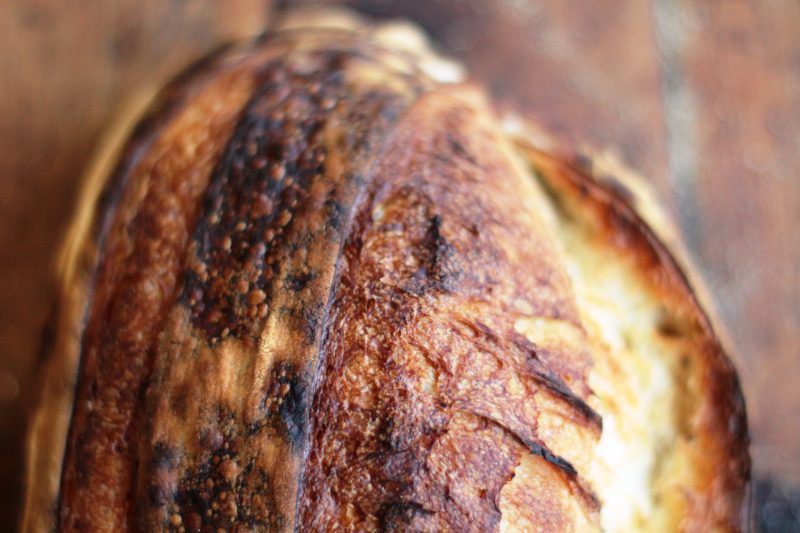
- Once your loaf is fully proofed it should spring back to your finger pressure nice and slowly (an under-proofed loaf would spring back much quicker). Tip your loaf over carefully onto a piece of baking paper and slash with a baker’s lame (or serrated knife held at an angle if you don’t have a lame) then lift the loaf safely into the hot Dutch oven without burning yourself by holding each side of the baking paper. Place the hot lid on top and bake in your oven for 20 minutes.
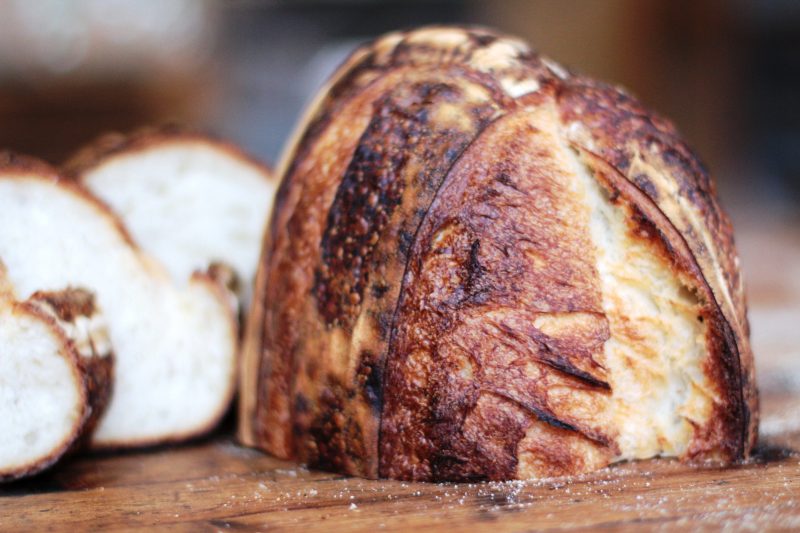
- At the 20 minute mark remove the lid from the Dutch oven, lower the oven temperature to 210°C and bake uncovered for a further 15-20 minutes, or until the crust has developed (bake it nice and dark brown). Avoid the immense temptation to cut into the loaf fresh out of the oven (the crust, crumb, overall texture, and flavor develops as it cools) and allow the loaf to cool to room temperature before cutting.
Enjoy your beautiful sourdough. Don’t be discouraged if it doesn’t turn out perfect, it is a skill that you will get better at the more you bake!
If you are interested in learning more, you can book into one of our Breaducation classes. Book here
Stay tuned for more recipes! We will be posting some fantastic ways to use up discarded starter so that your leftovers don’t go to waste.